
Emergency Kodak Readyload Holder Cleaning
While on a trip to the southwest USA, I accidentally dropped my Readyload holder in some sand while trying to take a photograph of an interesting dead tree at Arches National Park. I found that even after trying to shake all the sand out of it, the holder remained contaminated with sand particles that caused a few jams several times during the remainder of my trip.
Warning
What follows is my method for opening up and cleaning out the insides of the holder. The specific procedure will vary depending on the version of film holder you have, so you may have to take these notes as a very general guide on what to do. I hope they help. If your holder is different, you may need to call Kodak for more help.
Some general rules to follow:
- Do not rush. Allow about 30 minutes to an hour from start to finish.
- Do not force parts together. That's a sure way to damage the holder.
- Gather the tools together before starting.
- Have a clean, uncluttered, level space available to do the work on. Make sure you have plenty of room to work in.
- Lay out parts in the order you remove them so that you can reassemble them in the same place they came from.
- Go slowly. Take your time.
This procedure needs to be carried out in a wind-free, clean environment. There are several small parts that could easily be lost if you are not careful. A restaurant or hotel room table or a hard surface floor would be good. Doing this in an uncarpeted space is best.
Tools needed:
- #0 or #00 jewelers phillips head screwdriver.
- Hex driver for the screws in the release button (optional).
- One scrap readyload film packet for testing the holder after reassembly.
Procedure
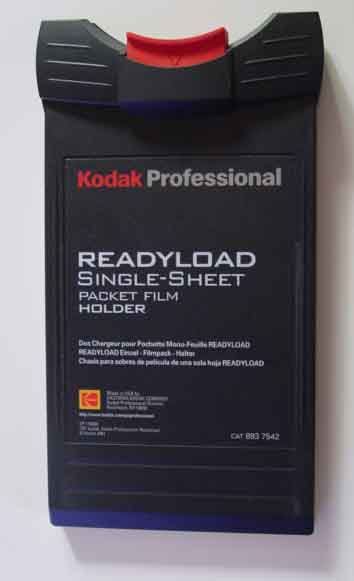
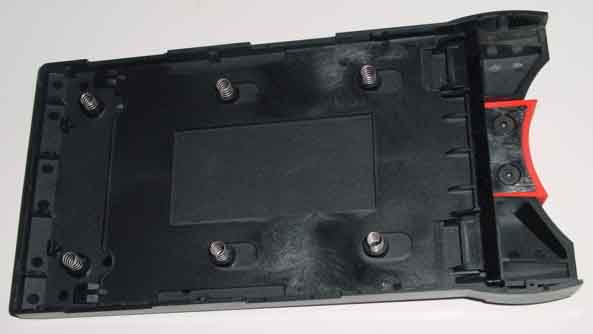
1. This is the holder I have. Again, the procedure may not work with your version.
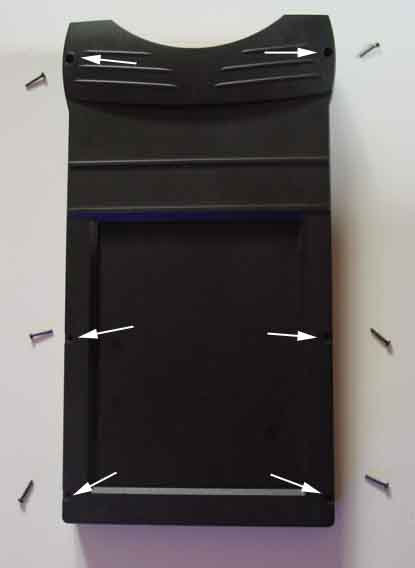
2. To begin, remove the six tiny phillips screws around the perimeter of the pressure plate side of the holder with a #0 or #00 phillips head screw driver. I've heard it said that the screws can be located in the sides of the holder in other versions.
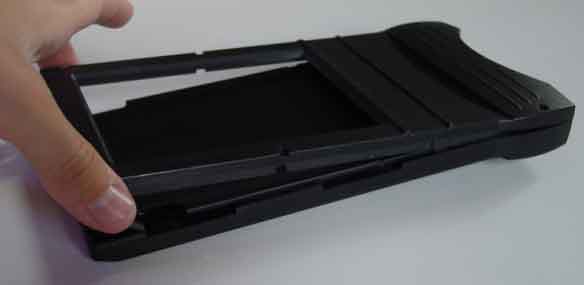
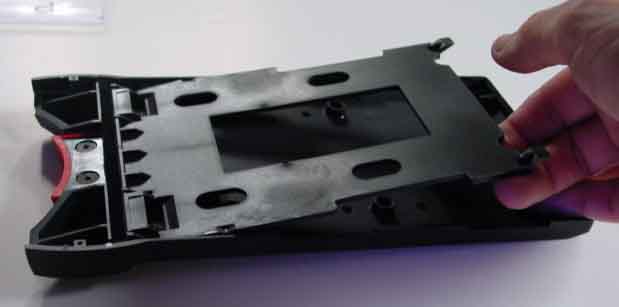
3. Gently lift the two halves of the holder apart, starting with the side opposite the red release button.
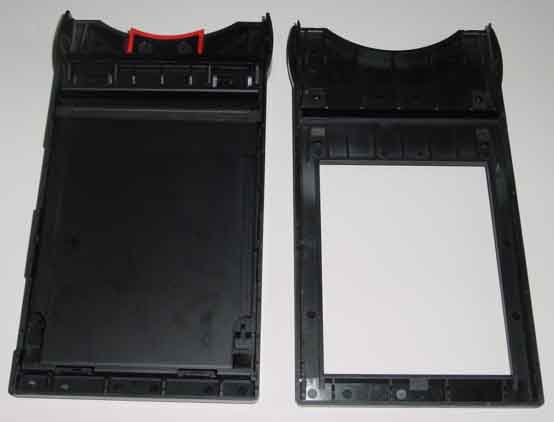
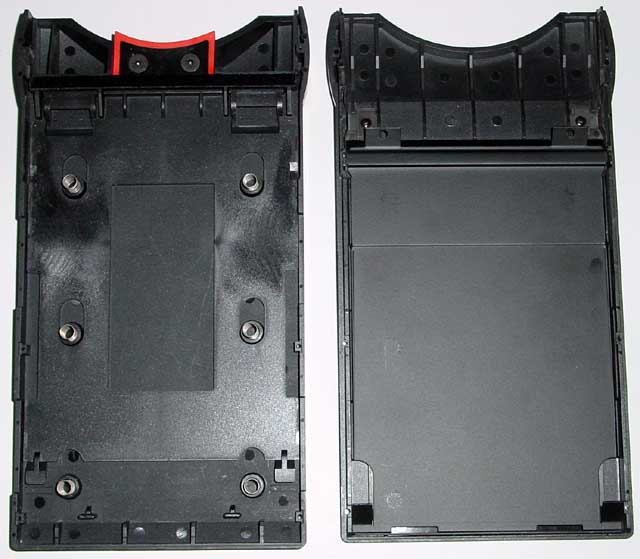
4. Here are the two halves opened up.
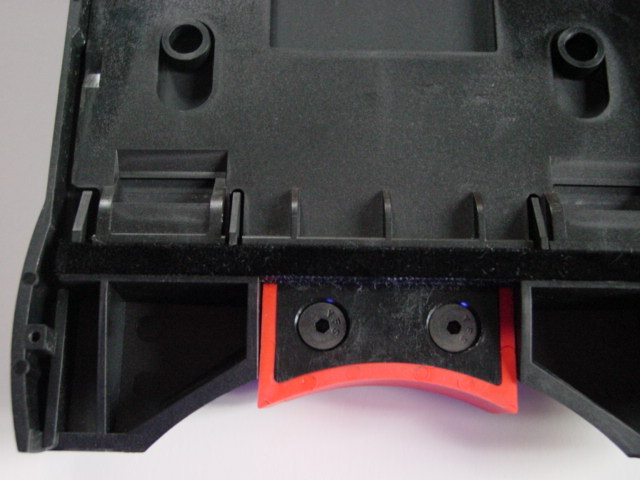
5. Next, there is a little bar that spans the pressure plate near the release button (top photo). Note that the raised lip of this bar is positioned nearest the open end of the holder, and faces toward the side with the hole.
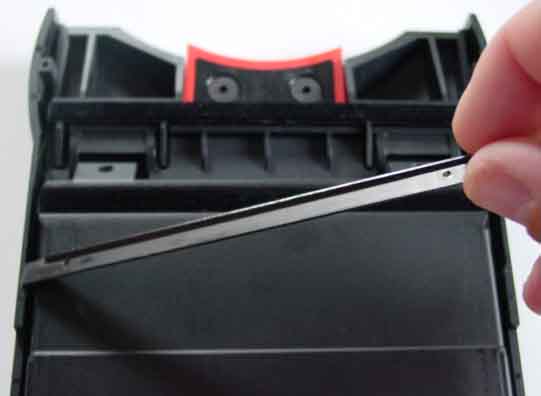
Just move that little bar over to the other half of the holder, making sure to fit it into the slots provided for it in the sides of the holder next to the velvet light trap, with the raised lip facing down and nearest the open end (lower photos).
Notice that the little notches near the holes in the bar face towards the film insertion slot in the holder after you move it to the other half.
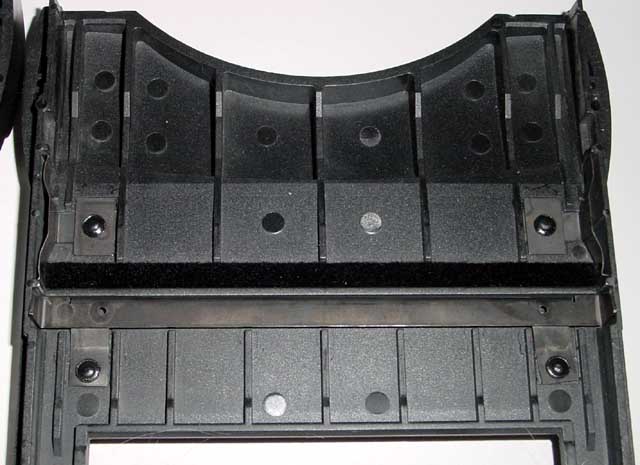
6.Now, gently lift the whole pressure plate off the holder and place it in the other half of the holder (the half with the 4x5 hole in it), but upside down--just flip it over like a page in a book. Be careful of the springs under the plate so you don't loose any.
7. Lift out the six little springs out of their sockets and set them aside in a safe place.
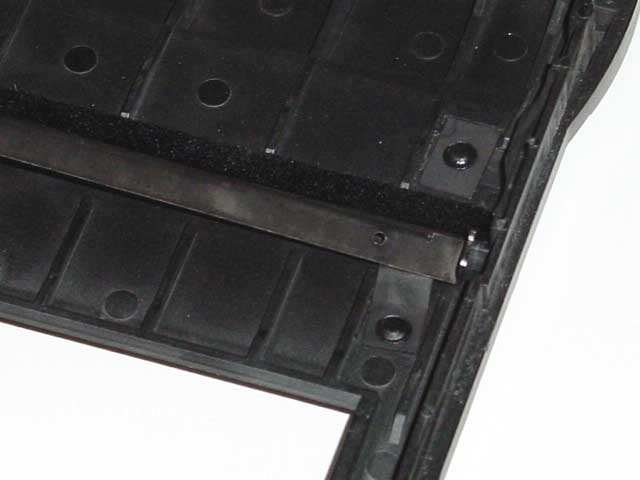
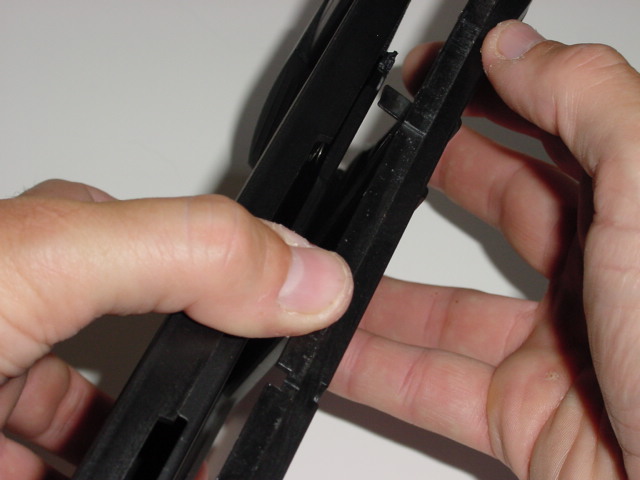
8. The release button has two hex screws that you may want to remove. I didn't have the correct size tool, so I carefully lifted the sliding plate a little from the unattached end, not too much (see lower photo) and vacuumed under it, followed by a canned air blow-out. That cleaned it out fine.
9. Now you can vacuum out the entire holder and blow it our with compressed air. Make sure to slide the plate around to be sure you've got all the grit out.
10. Once the cleaning is done, reassemble the holder. Reinstall the six pressure plate springs and make sure they are seated properly.
11. Join the two halves together at the lower long edge and close the two halves together like it was a book. Do not dislodge the springs.
12. Once you have the holder assembled, try pushing down the release button a few times to be sure all parts work as designed. If all is well, you can reinsert and tighten down the six screws. I have found that the screw holes are easily stripped if you tighten the screws too much. Use light torque when reinstalling them, or you can just leave them as is. Another option is to use Loctite blue (not the 'red' type!) for added insurance, but I doubt the screws will fall out without your help.
13. Now that it's all back together use a scrap film packet to make sure that the holder works as it should, especially that the holder grips the metal clip on the film packet properly and that the packet stops at the right spot when you pull the packet out as if you were about to expose the film. If it doesn't, you might have put the little bar (see step 5) in upside down or the pressure plate isn't seated properly.
Et Voilà! You're done! Hopefully the holder works fine now. If you still can't get it to work properly, call Kodak and get them to advise you. Their help number in the US is 1-800-242-2424.
if you have comments or suggestions on this procedure.
Site contents are
Photographs licensed under a
Creative Commons Attribution-NonCommercial-ShareAlike 4.0 International License.

All trademarks and logos belong
to their respective owners.
Page last modified:
23-Jan-2018